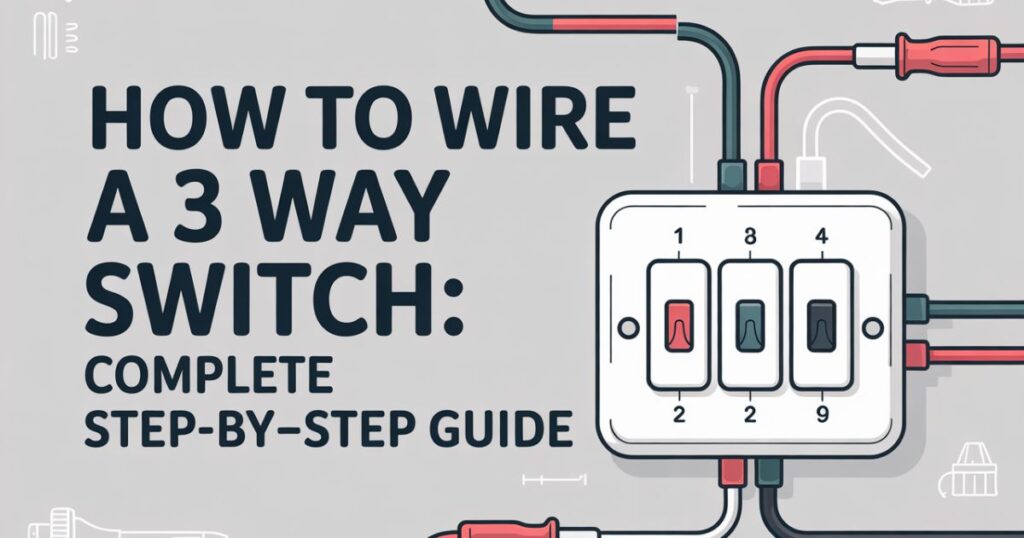
Introduction to 3 Way Switch Wiring
Wiring a light switch may seem simple, but learning how to wire a 3 way switch brings a new level of convenience to your home. Unlike a standard single-pole switch, a 3-way system lets you control the same light from two different locations.
This is especially useful in staircases, long hallways, or rooms with multiple entrances where multi-location light control adds safety and comfort. A proper setup involves connecting the common terminal, traveler wires, and a ground wire in a way that ensures both switches work together seamlessly. With the right tools, careful steps, and attention to safety, anyone can master this wiring process.
How a 3 Way Switch Works
The difference between 3-way and single-pole switch setups lies in wiring design. A single-pole switch has just two terminals and can only turn a light on or off from one location. A 3-way switch wiring system uses a common terminal and two traveler terminals that connect two switches, making it possible to control one light from multiple points.
When installed properly, this system makes turning lights on from two locations simple. Imagine walking up a staircase, switching the light on at the bottom, and then switching it off when you reach the top. This is the everyday practicality that makes this type of installation so popular.
Tools You Need Before Starting
Every DIY electrical work project requires the right tools. To begin, you’ll need a screwdriver, wire cutter / wire stripper, voltage tester, and mounting screws. These ensure accuracy when cutting, stripping, and tightening connections. Without them, even a small mistake can compromise safety.
It’s also recommended to keep wire nuts / wire connectors, electrical tape, and an electrical wall plate nearby. These components secure connections and complete the installation cleanly. Having these items ready saves time and avoids unnecessary interruptions during the project.
Materials Required for Wiring

The most essential items include 3-way switches, electrical wiring, and a ground wire. Choosing high-quality switches such as adorne® 3-way switches or radiant® 3-way switches ensures durability. These are designed for American electrical standards and provide long-lasting reliability.
Alongside the switches, you’ll also need proper wiring lengths, protective covers, and standard-grade wall boxes. Many homeowners use pre-packaged kits for light switch installation, but verifying compatibility with your setup is crucial for a safe and efficient installation.
Safety Precautions Before Wiring
One of the most critical steps is practicing circuit breaker safety. Always perform a power shutoff for safety at the breaker box before handling wires. Even when you think the current is off, a voltage tester should be used to confirm no electricity is flowing through the lines.
Electrical projects demand caution. Wearing rubber-soled shoes and safety goggles adds another layer of protection. Taking shortcuts here risks shocks or accidents that could easily be avoided by following safe practices.
Understanding Wiring Diagrams for 3 Way Switches
Reading a 3-way switch wiring diagram is the foundation of success. It illustrates how the common terminal, traveler terminals, and ground wire interact across two switches and the light fixture. By studying a diagram first, you can visualize every step before touching a tool.
Diagrams also help you prevent mislabeling or crossing wires, which is one of the most frequent causes of malfunction. For anyone tackling a DIY guide to installing switches, diagrams serve as a map that ensures the project flows smoothly and safely.
Converting a Single-Pole Switch to a 3 way Switch
Sometimes a home already has a single-pole switch, but the family wants added functionality. Steps to replace existing switch involve removing the single-pole unit, adding a new 3-way unit, and running traveler wires between both switches.
This adding 3-way functionality in new space project is common in stairwells and hallways. It provides convenience, reduces unnecessary trips to turn off lights, and creates a more modern electrical setup.
Step-by-Step Guide to Wiring a 3 Way Switch
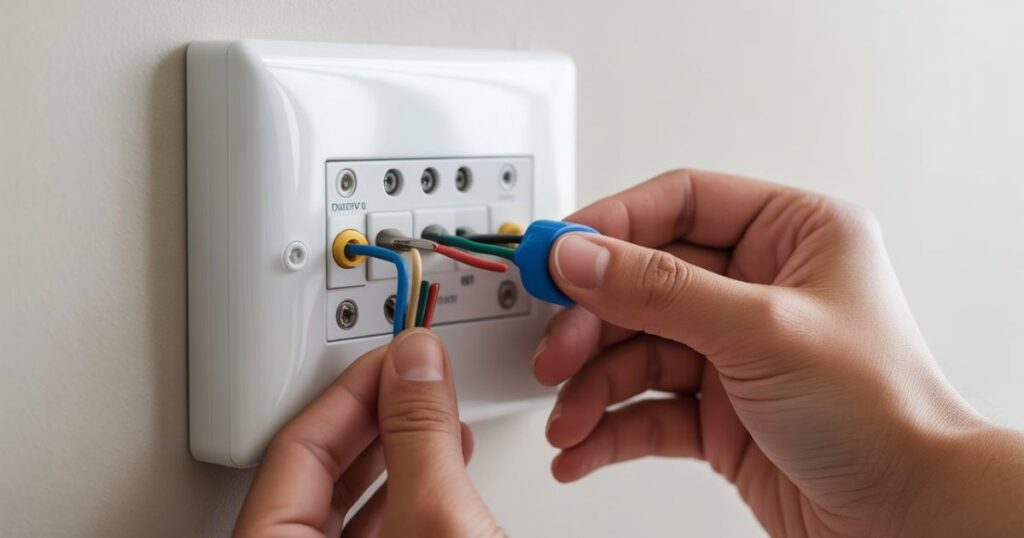
Start by removing the old switch. Always begin by safely disconnecting old switch connections after ensuring power is off. Then label the hot, traveler, and ground wires for easy reconnection. Proper labeling avoids confusion later on.
Once wires are prepared, you’ll connect wires to new 3-way switch. Follow the wire stripping standards (¾ inch rule) to ensure clean connections. Secure each wire under its correct screw terminals, then proceed to mounting and securing switch in wall box.
| Terminal | Wire Connected | Purpose |
| Common Terminal | Hot wire | Power source line |
| Traveler Terminals | Traveler wires | Allow communication between switches |
| Ground Terminal | Ground wire | Safety grounding |
Common Mistakes to Avoid When Wiring
One of the biggest errors is mixing up the traveler terminals with the common terminal. This can result in lights not working or only working from one switch. Another frequent mistake is leaving loose connections under the screw terminals, which can cause overheating.
Failing to attach the ground wire is also risky. Grounding is essential to prevent shocks and ensure proper circuit protection. Avoid these pitfalls, and the wiring process becomes far more reliable.
Testing and Troubleshooting Your 3-Way Switch
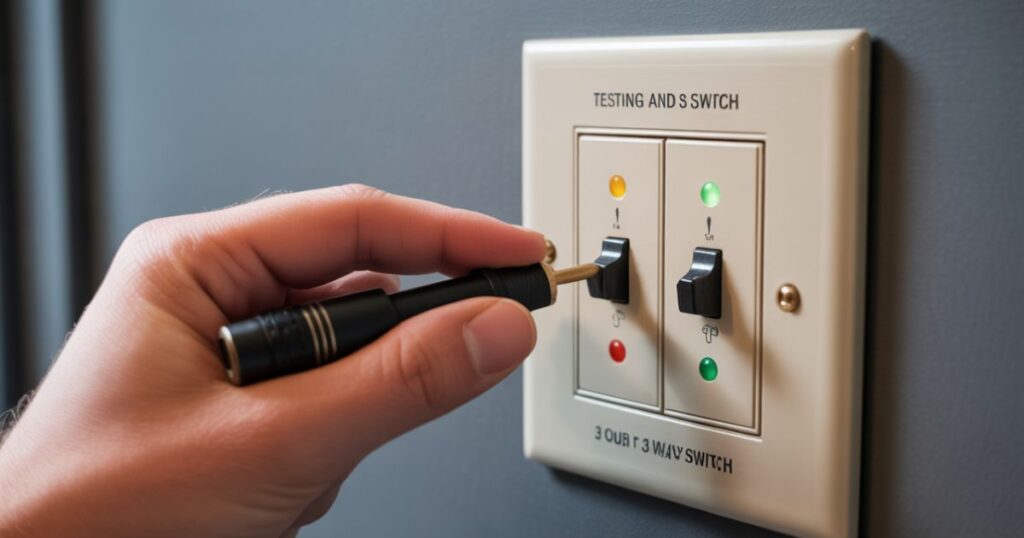
After installation, testing 3-way switch after installation confirms whether both switches work as expected. Turn the power back on, then flip each switch from both locations to ensure the light responds correctly.
If problems occur, troubleshooting wiring issues may involve re-checking labels, tightening connections, or reviewing the diagram again. A faulty traveler or mislabeled hot wire is often the culprit behind unusual switch behavior.
Read this article also: Adaptive Network Control and Security: The Complete Guide
Tips for Smooth and Safe Wiring
Organizing wires neatly inside the wall box makes the entire system safer and easier to manage. Folding wires gently rather than forcing them prevents damage to insulation. Clear labeling is another practice that simplifies maintenance later.
When doing safe home electrical upgrades, patience is key. Rushing can lead to errors that cost time or create hazards. Taking a steady pace ensures accuracy and safety.
Warnings and Safety Hazards to Consider
Incorrect wiring can lead to overheating, sparks, or even electrical fires. That’s why compliance with U.S. electrical codes should never be overlooked. Professional inspections may also be necessary if you’re unsure about the quality of your work.
Another hazard is overloading circuits. Always check that your electrical system can handle the new multi-way lighting setup without straining existing circuits. Prevention here saves costly repairs later.
Expert Advice and FAQs on 3 Way Switch Wiring
Many electricians advise practicing on a simpler project before tackling how to wire a 3-way switch. This builds confidence and helps develop safer habits. Experts also stress the importance of investing in a high-quality voltage tester.
What is the safest way to confirm power shutoff? How do I know which wire is the hot wire? Is it worth investing in Netatmo smart switches for wireless control? These answers can guide beginners toward smarter decisions.
Practical Use Cases and Applications in Homes
A staircase lighting control system is one of the most common uses. It prevents anyone from walking in the dark, reducing the risk of accidents. Hallways and large rooms with multiple entrances also benefit greatly.
Smart upgrades like using smart light switches without wiring offer wireless solutions. Options like Netatmo smart switches bring modern technology to traditional wiring, combining old-school safety with new convenience.
Conclusion: Making Your Wiring Project Safe and Successful
Installing a 3-way switch wiring system isn’t as intimidating as it seems. With careful planning, proper tools, and attention to detail, you can complete this DIY guide to installing switches safely.
By following each step, from safely disconnecting old switch to testing 3-way switch after installation, you gain confidence and enjoy the benefits of multi-location light control convenience. It’s a project that upgrades safety, comfort, and efficiency in your home.
FAQs
Which wires go where on a 3-way switch?
The black hot wire connects to the common terminal, while the red and black traveler wires connect to the brass terminals. The ground wire attaches to the green screw.
What happens if a 3-way switch is wired wrong?
If wired incorrectly, the light may not turn on, or it may only work from one switch instead of both.
Does it matter where the red wire goes on a 3-way switch?
No, either traveler terminal can take the red wire, but it must not go on the common screw.
When wiring a 3-way switch, what is the white wire considered?
The white wire is usually a neutral wire, but in some 3-way setups, it may serve as a hot wire if re-marked.What color wire goes to the black screw on a 3-way switch?
The black screw is the common terminal, and the hot or switched-hot wire should be connected to it.


Pingback: Prizmatem: Meaning and Benefits for Modern Life and Business - BBC Insider